Motorized shades installation, in plain English
Motorized shades installation sounds complicated until you break it into a few predictable phases: planning, measuring, mounting, powering, pairing, and fine-tuning. The main difference between a “clean” install and a frustrating one is preparation—especially around measurements, power choice, and bracket placement.
If you want help choosing the right motor, fabric, and control style before you ever pick up a drill, start with the World Wide Shades Shade Builder to map your windows, light-control goals, and budget.
What you need to decide before installation day
Most installation problems come from one of these decisions being made too late.
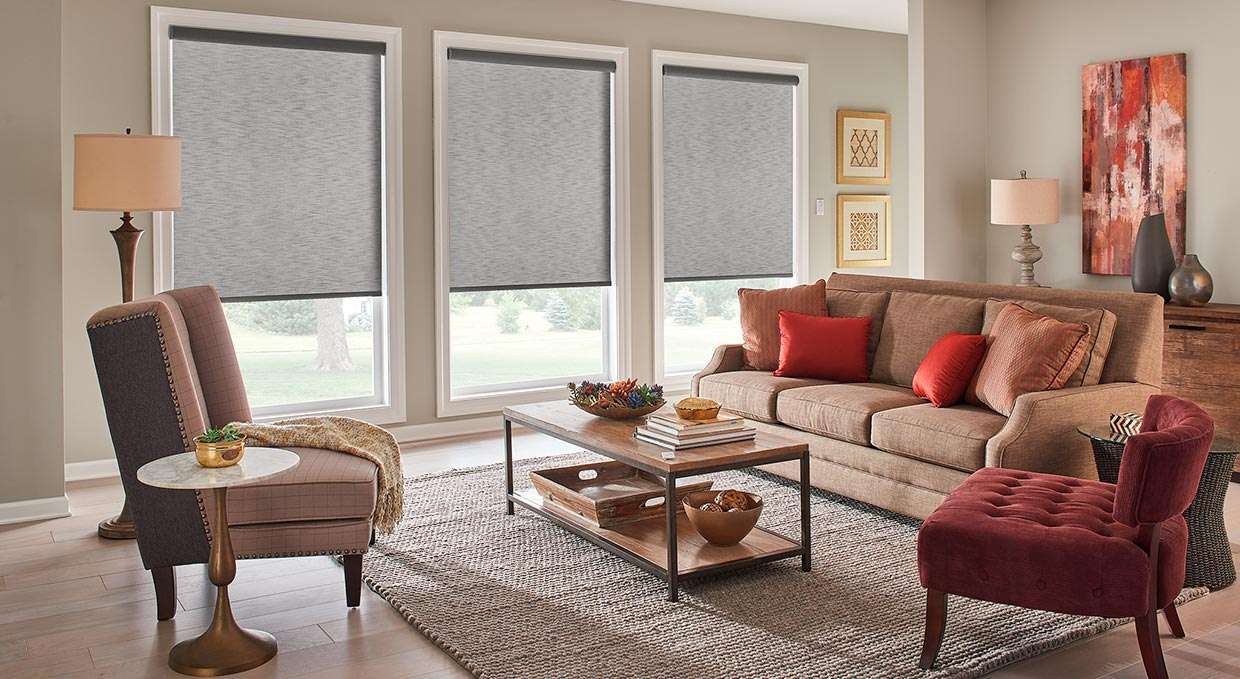
Motorized roller shades need a little extra clearance for the tube and motor head.
- Inside mount looks built-in and protects the shade hardware, but it requires enough depth and square window openings.
- Outside mount is more forgiving on uneven trim and can block more light, but it places hardware on the wall or molding.
If you’re still unsure, the “what’s right for my window” breakdown in Inside Mount vs Outside Mount Shades can help you make the call before you measure.
Power choice affects where the motor sits, how you route cables, and whether you can hide everything.
- Battery-powered: easiest for most homes; no electrician needed; you’ll recharge every few months depending on shade size and usage.
- Plug-in: consistent power with no charging, but you need a nearby outlet or a clean plan for a visible cord.
- Hardwired: best for new construction and whole-home projects; requires planning for power runs inside the wall.
If you’re outfitting a new build or remodel, pair this guide with Custom Shades for New Construction: Planning Tips so your electrician and window schedule stay aligned.
Motorized shades can be controlled in multiple ways, and the “right” answer is usually a mix.
- Remote-only is simple and reliable.
- Wall switches feel natural for guests.
- App control is great for schedules and rooms you don’t visit often.
- Voice assistants are convenient, but you’ll want a backup method.
For smart home planning, see Smart Home Motorized Shades Setup and Motorized Shades That Work with Alexa and Google Home.
Tools and materials checklist (for a typical install)
You don’t need a full workshop, but you do need the basics.
- Tape measure (steel is best)
- Pencil
- Level (small torpedo level works)
- Drill/driver
- Drill bits (wood + masonry if mounting to brick)
- Stud finder (helpful for outside mount)
- Screwdriver
- Step stool or ladder
- Painter’s tape (to mark bracket locations cleanly)
- Shims (for slightly out-of-square openings)
- Vacuum or drop cloth
If you’re unsure about fabrics for glare control and long-term durability, compare options in Best Fabrics for Roller Shades and request real samples from World Wide Shades Swatches.
Step-by-step: how to measure for motorized shades
Measuring isn’t hard, but motorized shades are less forgiving of “close enough.”
- Measure width in three places: top, middle, bottom.
- Use the smallest width.
- Measure height in three places: left, center, right.
- Use the largest height (so the fabric reaches the sill).
- Check depth: you need enough space so the shade clears the window and any protruding hardware.
For a full measuring walkthrough (with common mistakes), follow How to Measure Windows for Roller Shades.
- Decide how much you want the shade to overlap the opening—commonly 2–3 inches per side.
- Measure the full width you want covered.
- Measure height from where the brackets will sit to where you want the shade to end.
Outside mount is ideal when you’re trying to reduce edge light. If “darkening a room” is the goal, compare shade types in Blackout Curtains vs Blackout Shades.
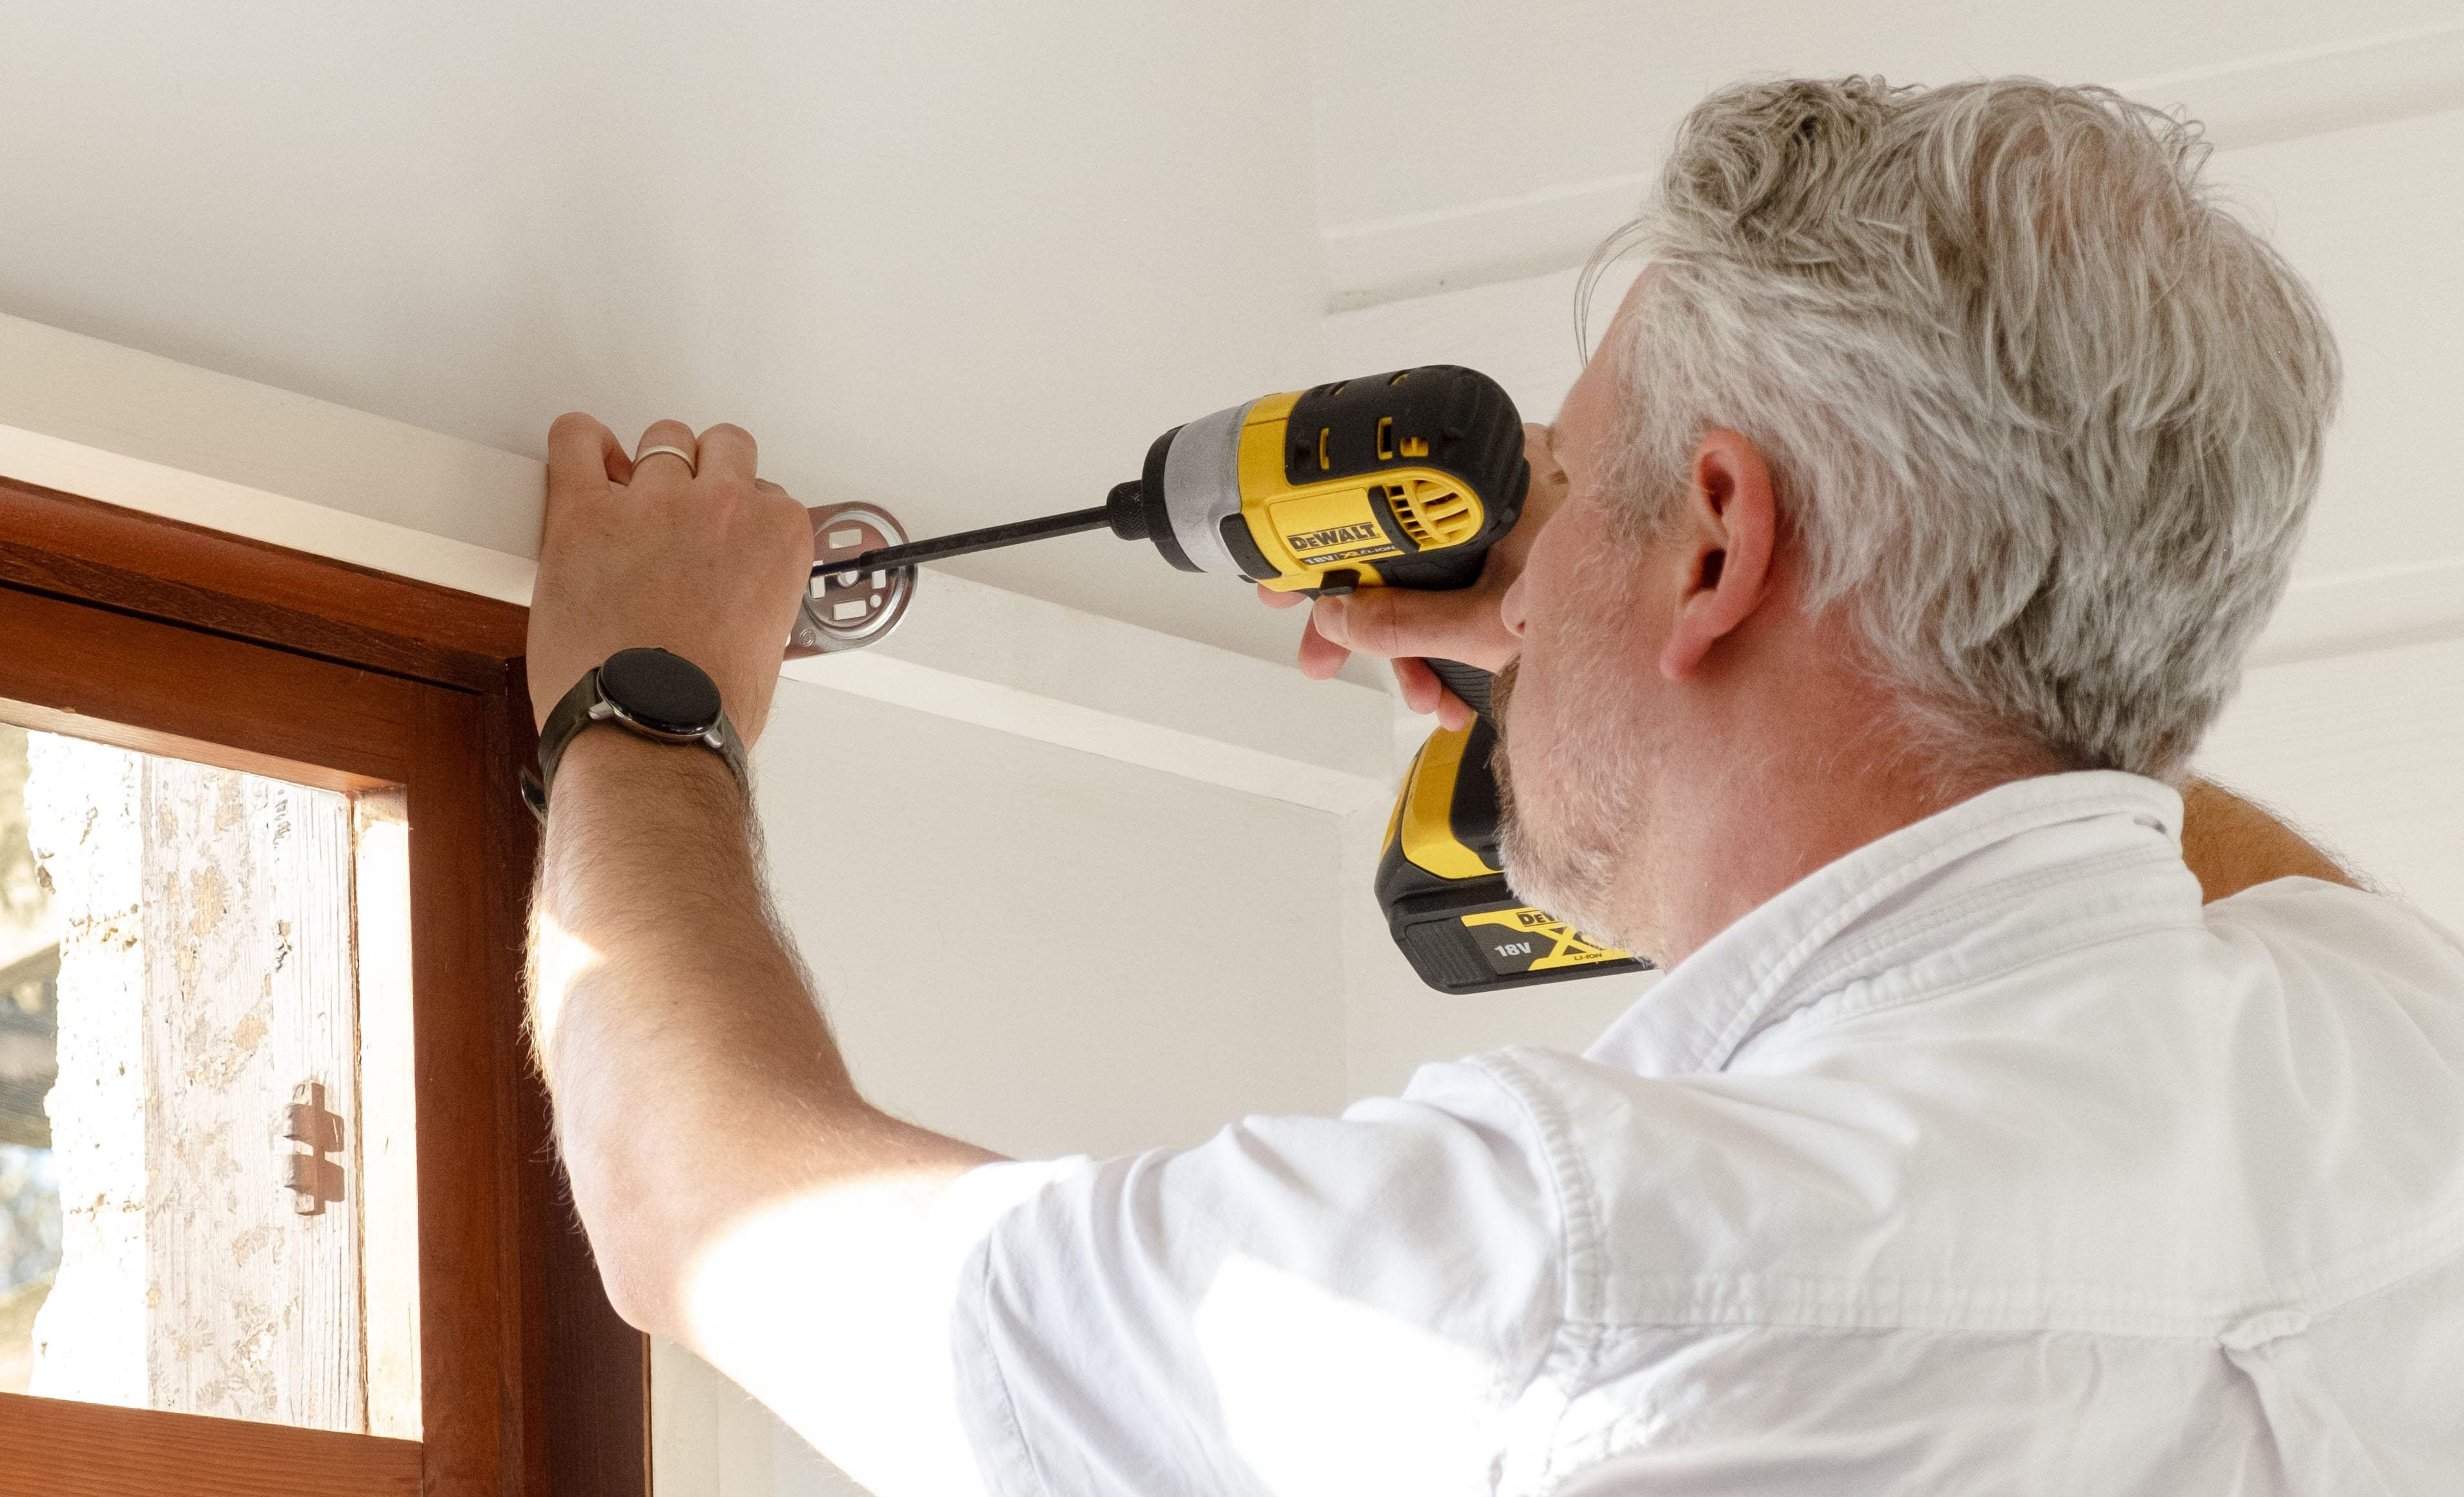
Installation phase 1: bracket placement and mounting
This is where most DIY installs go wrong—brackets slightly off-level can cause a motorized shade to track unevenly.
- Mark both bracket locations with pencil.
- Use a level to ensure marks align.
- For inside mount, ensure brackets sit square within the window opening.
- Wood studs/trim: generally easiest; screws bite well.
- Drywall: use proper anchors if you’re not in a stud.
- Masonry: use masonry bits and anchors rated for the substrate.
If your home has special conditions—coastal humidity, salt air, or heavy winds—material choices matter. Pair this with Window Shades for Coastal and Hurricane-Prone Homes.
Look for:
- Window cranks
- Alarm sensors
- Tilt-in latches
- Deep trim returns
A quick obstruction check saves you from remounting.
Installation phase 2: hanging the shade and setting the roll direction
Most motorized roller shades “click” into the brackets, but the motor side and idle side need to be seated correctly.
- Insert the motor end into its bracket.
- Compress the spring-loaded idle pin (if applicable) and set it into the opposite bracket.
- Confirm the shade tube rotates freely.
- Standard roll places fabric closer to the glass for a clean look.
- Reverse roll can clear window handles or deep trim, but may create more light gap at the top depending on valance and mount.
If you want a finished top edge, consider valance options. This pairs well with Roller Shade Valance Options and Roller Shade Valance Styles.
Installation phase 3: powering the motor
Your steps depend on the power type.
- Insert the battery pack or connect it to the motor lead.
- Confirm it’s fully charged before programming.
- Plan how you’ll access it later for charging (especially on tall windows).
- Route the cord along trim or a discreet path.
- Use cord clips for a clean line.
- Avoid pinching cords behind brackets.
- Turn off power at the breaker.
- Confirm wiring matches the motor requirements.
- Use a licensed electrician if you’re unsure.
For big projects, you can also ask the World Wide Shades Team for guidance through contacting World Wide Shades or by calling (844) 674-2716.
Installation phase 4: pairing, programming limits, and testing
Even a perfect mount can feel “off” if limits aren’t set correctly.
- Put the motor into pairing mode.
- Connect it to the remote/app according to the motor’s procedure.
- Name the shade by room (for multi-room control).
- Set upper limit so the shade stops without stressing the hardware.
- Set lower limit so the hem bar sits evenly and doesn’t slam.
- Test multiple cycles.
- Shade stops unevenly: bracket misalignment or window out of square.
- Shade drifts to one side: brackets not level, or tube not seated.
- Motor struggles: shade too large for motor strength, or fabric tension issue.
If your window opening isn’t perfectly square (common in older homes), you may need shims or an outside mount solution.
What professional installers do differently
Professionals aren’t “magical”—they follow a repeatable process.
If you’re installing multiple shades, they:
- Label each shade and window location
- Verify mounts match window conditions
- Test one shade before repeating the method
They ensure you can:
- Access batteries
- Reach reset buttons
- Remove the shade without destroying trim
For example:
- Large windows need stronger hardware—see Roller Shades for Large Windows.
- Sliding doors have different clearance needs—see Roller Shades for Sliding Glass Doors.
If you want that “pro outcome” without guesswork, build your configuration with World Wide Shades and we’ll help you choose the right components.
Cost, timing, and what to expect on install day
A typical single-window motorized shades installation can take 30–90 minutes depending on:
- Mount type
- Wall material
- Whether you’re installing multiple shades
- Smart home setup
Whole-home installs are often staged by floor or by room, starting with the most frequently used spaces.
If you’re budgeting for the full project, the pricing context in How Much Do Custom Roller Shades Cost? can help you plan.
Safety and family considerations
Motorized shades can be a great upgrade for homes with kids and pets because there are no dangling cords.
For a deeper safety overview, read Child-Safe Window Treatments and consider cordless or motorized options when planning.
FAQ: motorized shades installation
Not for most battery-powered or plug-in options. Hardwired motors may require an electrician depending on local code and how power is routed.
Yes, but motor strength and tube diameter must match the shade size. If you’re outfitting oversized openings, start with World Wide Shades so your configuration is sized correctly.
Outside mount, deeper overlap, and proper bracket spacing help. For bedroom darkness goals, compare approaches in Best Window Shades for Bedrooms and Blackout Curtains vs Blackout Shades.
This is common. Shims can level brackets, or an outside mount can hide uneven edges.
Many homeowners can, especially for standard windows. If you want help selecting the right mount, fabric, and power setup, contact World Wide Shades at (844) 674-2716 or use our contact page.
Get help choosing the right motorized shade setup
If you want motorized shades that fit correctly the first time, focus on selection and measurements before the drill comes out.
- Start with the World Wide Shades Shade Builder to configure your windows.
- Order samples from World Wide Shades Swatches to confirm fabric and openness.
- If you want a second set of eyes, reach out to the World Wide Shades Team at (844) 674-2716 via /contact.
World Wide Shades can help you choose the right power option, mount style, and smart controls so your motorized shades installation feels straightforward from start to finish.